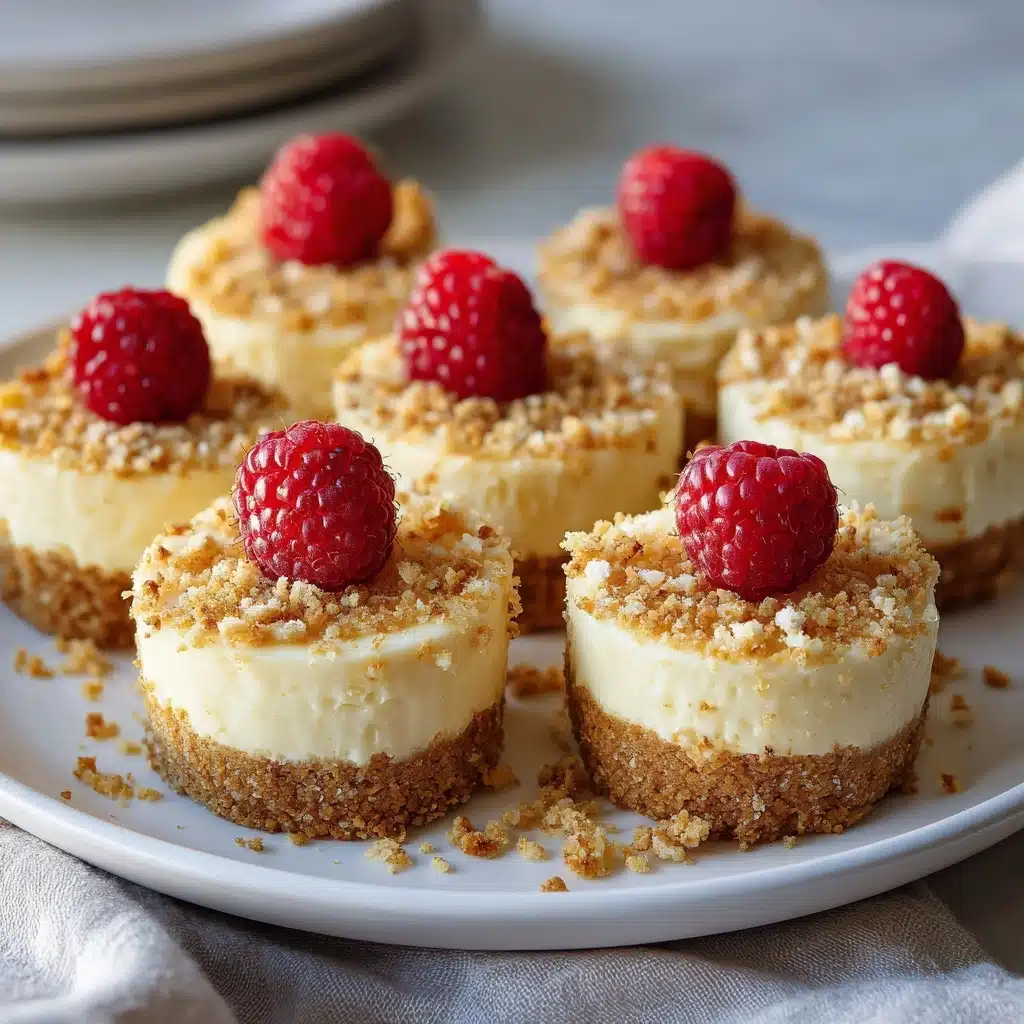
Get ready to fall in love with these Gluten-Free Mini Cheesecakes—a bite-sized dessert that’s as creamy and dreamy as the classic, but totally safe for gluten-free eaters! Each adorable little cheesecake delivers that irresistible tang, a buttery crumb crust, and endless topping possibilities. Whether you’re hosting a party or simply treating yourself, these are a sweet solution for nearly any occasion.
Ingredients You’ll Need
These Gluten-Free Mini Cheesecakes call for simple, accessible ingredients, but each one plays a crucial role. From the rich cream cheese filling to the crisp cookie crust, everything works together to create a treat that’s both decadent and perfectly portioned.
- Gluten-free graham cracker crumbs: The foundation of the crust, providing essential crunch and a nutty sweetness that pairs beautifully with the creamy filling.
- Unsalted butter (melted): Binds the crust together and infuses it with rich, buttery flavor.
- Granulated sugar: Adds sweetness to both the crust and the filling, balancing the tanginess of the cream cheese.
- Cream cheese (softened): The star of the show, giving the mini cheesecakes their silky, luscious texture.
- Large eggs: Help set the filling and create that classic cheesecake structure.
- Sour cream: Brings a subtle tang and makes the filling extra smooth.
- Vanilla extract: Adds warmth and depth to the flavor profile.
- Gluten-free all-purpose flour (optional): For extra stability, though the cheesecakes are lovely without it, too.
- Fresh fruit, fruit preserves, chocolate drizzle, or whipped cream (optional): Perfect for topping and personalizing each mini cheesecake.
How to Make Gluten-Free Mini Cheesecakes
Step 1: Prep Your Pan and Oven
Begin by preheating your oven to 325°F and lining a 12-cup muffin tin with paper liners. This not only ensures easy removal but also helps the cheesecakes keep their cute shape. A little prep here makes the end result picture-perfect!
Step 2: Make the Gluten-Free Crust
In a small bowl, mix the gluten-free graham cracker crumbs, melted butter, and sugar until the mixture is evenly moistened. Spoon about a tablespoon of this crumbly goodness into each muffin liner, then press it down firmly with the back of a spoon or your fingers to create a compact crust. Pop the pan in the oven for 5 minutes, just to set the crust, then pull it out and let it cool while you move on to the filling.
Step 3: Prepare the Creamy Filling
In a large bowl, beat the softened cream cheese and sugar together until completely smooth and free of lumps. Add the eggs one at a time, mixing well after each addition. Next, blend in the sour cream, vanilla extract, and gluten-free flour (if using) until everything is just combined. Be careful not to overmix—the goal is a luscious, silky filling without too much air.
Step 4: Fill and Bake
Divide the cream cheese filling evenly over the pre-baked crusts. Gently smooth the tops with a spoon for a uniform look. Bake for 18 to 20 minutes, or until the centers are set but still have a slight jiggle. This helps keep the texture creamy and prevents cracks.
Step 5: Cool and Chill
Turn off the oven, crack the door open, and let the cheesecakes cool inside for 10 minutes. This slow cooling process helps avoid any sinking or cracking. Afterward, transfer the pan to a wire rack and let the cheesecakes cool completely at room temperature before chilling them in the fridge for at least 2 hours. This patience pays off with the ultimate creamy bite!
How to Serve Gluten-Free Mini Cheesecakes

Garnishes
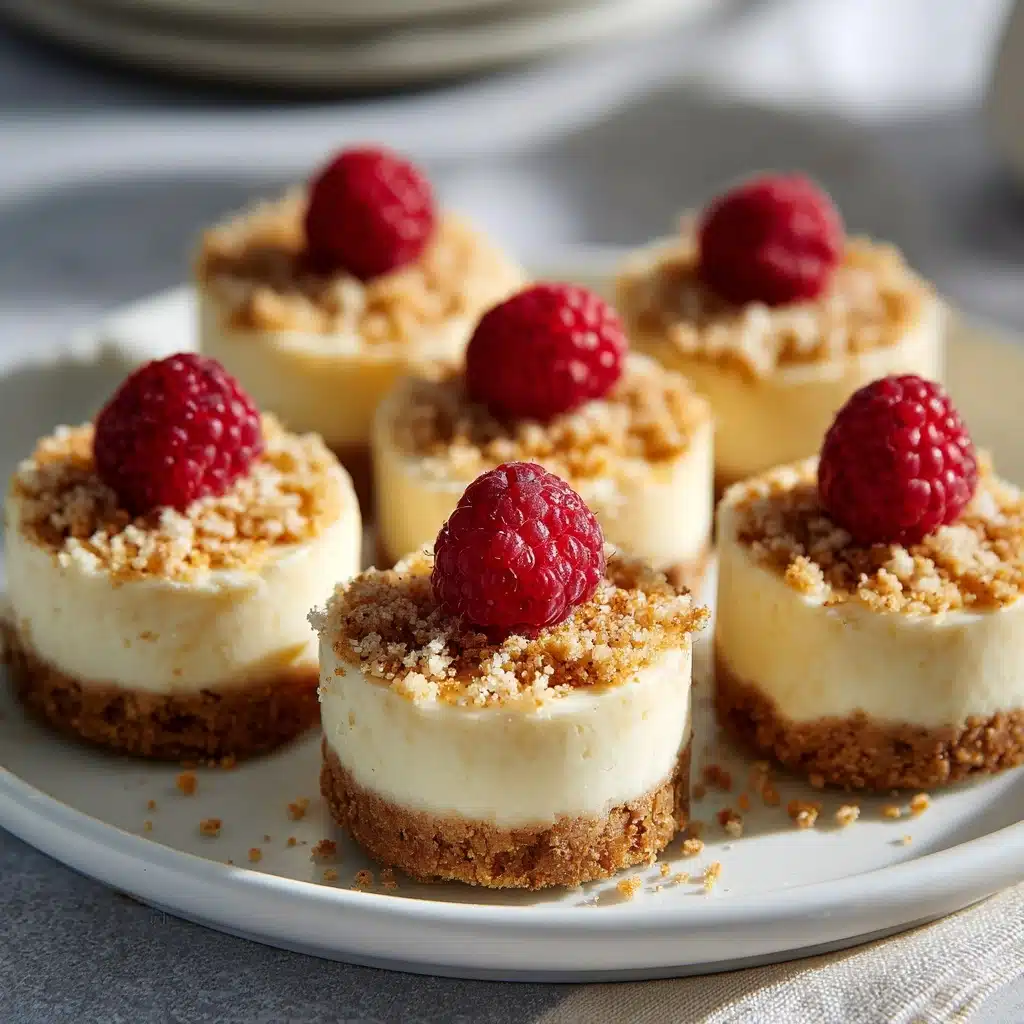
Top your Gluten-Free Mini Cheesecakes with fresh berries, a glossy spoonful of preserves, a drizzle of chocolate, or a fluffy dollop of whipped cream. Each option adds a pop of flavor and color, making every cheesecake its own mini masterpiece.
Side Dishes
Pair these cheesecakes with a platter of fresh fruit, a sparkling berry compote, or even a handful of roasted nuts. These light and refreshing sides balance the richness of the dessert and create a beautiful spread for any occasion.
Creative Ways to Present
Arrange your mini cheesecakes on a tiered cake stand for a festive touch, or nestle each one in a decorative cupcake wrapper. You can even set up a DIY topping bar, letting guests customize their own with different fruits, sauces, or crunchy toppings. The possibilities are as fun as they are delicious!
Make Ahead and Storage
Storing Leftovers
Keep any leftover Gluten-Free Mini Cheesecakes in an airtight container in the refrigerator for up to 3 days. The flavors often develop even more overnight, so sneaking one the next day is highly encouraged!
Freezing
For longer storage, these mini cheesecakes freeze beautifully. Simply wrap each cooled cheesecake individually in plastic wrap, then place them in a freezer-safe bag or container. They’ll keep for up to 2 months—just thaw overnight in the fridge before serving.
Reheating
No reheating needed! Gluten-Free Mini Cheesecakes are best enjoyed chilled straight from the fridge. If you prefer them a little softer, let them sit at room temperature for about 15 minutes before enjoying.
FAQs
Can I use a different gluten-free cookie for the crust?
Absolutely! Try swapping in gluten-free gingersnaps or vanilla wafers for a fun twist. Just crush them finely and use them in place of the graham cracker crumbs for a whole new flavor profile.
Do I need to add the gluten-free flour to the filling?
The flour is totally optional. It gives a bit more stability to the cheesecakes, especially if you plan to serve them at a warm event, but they’re deliciously creamy without it as well.
How do I know when the mini cheesecakes are baked perfectly?
Look for centers that are set but still slightly jiggly when you gently shake the pan. This ensures the filling stays creamy and prevents overbaking, which can cause cracks.
Can I make Gluten-Free Mini Cheesecakes ahead of time?
Yes! These are the ultimate make-ahead dessert. Prepare them a day or two before your event, store in the fridge, and add toppings just before serving for the freshest flavor and best texture.
What’s the best way to remove mini cheesecakes from the muffin tin?
The easiest method is to let them chill completely, then gently lift each one out by the paper liner. If you didn’t use liners, run a thin knife around the edge and carefully lift them out once fully set.
Final Thoughts
If you’re searching for a dessert that’s both crowd-pleasing and gluten-free, these Gluten-Free Mini Cheesecakes truly deliver. They’re rich, creamy, and endlessly customizable, making them a must-try for any occasion. Give them a whirl—you might just find your new favorite treat!
Print
Gluten-Free Mini Cheesecakes Recipe
- Total Time: 2 hours 45 minutes
- Yield: 12 mini cheesecakes 1x
- Diet: Non-Vegetarian
Description
These Gluten-Free Mini Cheesecakes are a delightful and easy-to-make bite-size dessert perfect for any occasion. Featuring a crisp gluten-free graham cracker crust and a creamy, smooth filling, they are a satisfying treat that caters to gluten-free and vegetarian diets. Topped with fresh fruit, preserves, chocolate drizzle, or whipped cream, these mini cheesecakes offer a deliciously customizable finish.
Ingredients
Crust:
- 1 cup gluten-free graham cracker crumbs
- 3 tablespoons unsalted butter, melted
- 1 tablespoon granulated sugar
Filling:
- 16 oz cream cheese, softened
- 1/2 cup granulated sugar
- 2 large eggs
- 1/4 cup sour cream
- 1 teaspoon vanilla extract
- 1 tablespoon gluten-free all-purpose flour (optional, for stability)
Topping (optional):
- Fresh fruit
- Fruit preserves
- Chocolate drizzle
- Whipped cream
Instructions
- Preheat and Prepare Crust: Preheat your oven to 325°F (163°C) and line a 12-cup muffin tin with paper liners. In a small bowl, combine gluten-free graham cracker crumbs, melted butter, and sugar. Mix until all ingredients are well incorporated. Spoon about 1 tablespoon of the mixture into each muffin liner and press firmly down to form an even crust. Bake the crusts for 5 minutes, then remove from oven and set aside to cool slightly.
- Make the Filling: In a large mixing bowl, beat the softened cream cheese and sugar together until smooth and creamy, ensuring there are no lumps. Add the eggs one at a time, blending thoroughly after each addition to maintain a smooth texture. Stir in the sour cream and vanilla extract until just combined. If using, gently fold in the gluten-free flour to help with stability without overmixing.
- Assemble and Bake: Evenly divide the cream cheese filling over each pre-baked crust in the muffin tin. Place back in the oven and bake for 18 to 20 minutes, or until the centers appear set but still slightly jiggly when you gently shake the pan. Once baked, turn off the oven and crack the door open. Let the mini cheesecakes cool in the oven for 10 minutes to prevent cracking.
- Cool and Chill: Remove the cheesecakes from the oven and allow them to cool completely at room temperature. Once cooled, refrigerate the cheesecakes for at least 2 hours to firm up and enhance flavor.
- Add Toppings and Serve: Just before serving, adorn each mini cheesecake with your choice of fresh fruit, fruit preserves, chocolate drizzle, or a dollop of whipped cream for added flavor and presentation.
Notes
- You can substitute the gluten-free graham cracker crust with crushed gluten-free cookies such as gingersnaps or vanilla wafers for a different flavor and texture.
- Mini cheesecakes can be prepared up to 2 days in advance and stored covered in the refrigerator to maintain freshness.
- Ensure cream cheese is softened to room temperature for a smoother filling and easier mixing.
- If you prefer a firmer filling, including the gluten-free flour is recommended but optional.
- To avoid cracking, avoid overbaking and allow the cheesecakes to cool gradually with the oven door ajar.
- Prep Time: 15 minutes
- Cook Time: 20 minutes
- Category: Dessert
- Method: Baking
- Cuisine: American
Nutrition
- Serving Size: 1 mini cheesecake
- Calories: 210
- Sugar: 13g
- Sodium: 140mg
- Fat: 15g
- Saturated Fat: 8g
- Unsaturated Fat: 6g
- Trans Fat: 0g
- Carbohydrates: 17g
- Fiber: 0g
- Protein: 4g
- Cholesterol: 55mg
