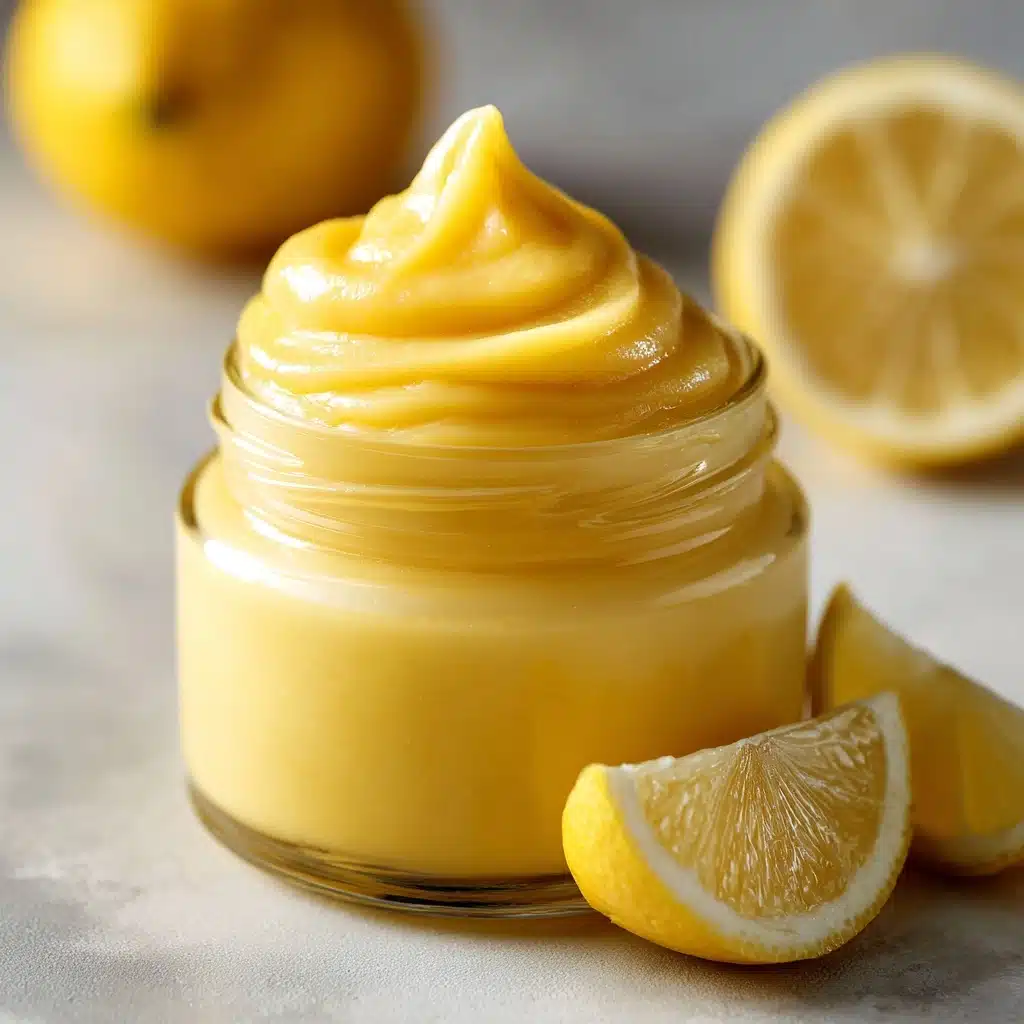
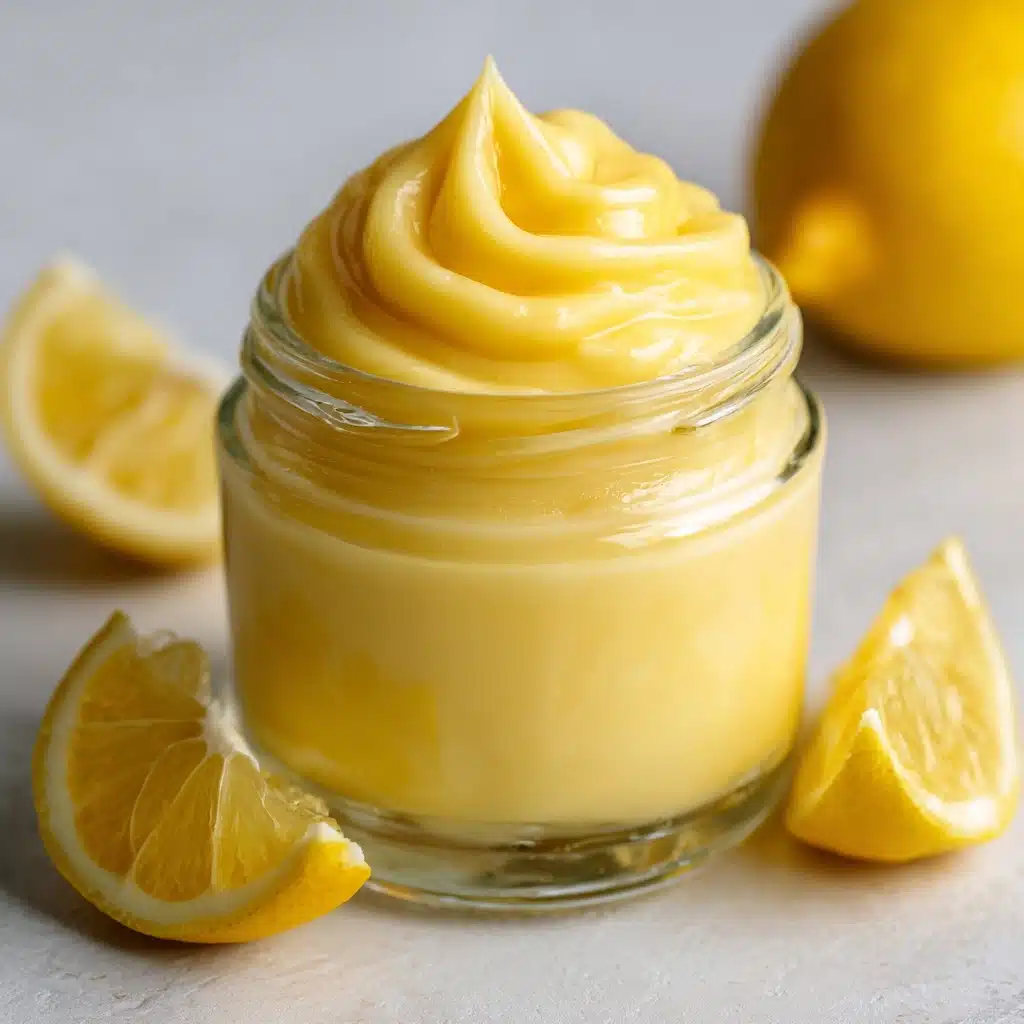
If you dream of capturing the pure, sunny brightness of lemons in a creamy jar, Homemade Lemon Curd is your answer. This rich, luscious citrus spread balances sweet and tart with a silky-smooth texture that begs to be spooned onto everything from scones to pancakes—or just devoured by the spoonful. Each bite bursts with real lemon flavor, courtesy of freshly squeezed juice and zest, all brought together with wholesome, everyday kitchen staples. Truly, there’s nothing quite like whipping up a batch of Homemade Lemon Curd and discovering how easy decadence can be!
Ingredients You’ll Need
Homemade Lemon Curd calls for just a handful of simple ingredients, but each plays a starring role in creating its vibrant flavor and texture. Embrace the fresh, quality ingredients to yield a curd that’s an absolute showstopper.
- Fresh lemon juice: Using juice squeezed from real lemons delivers the brightest, most authentic tartness and aroma.
- Lemon zest: Adding zest intensifies the lemony flavor and gives that signature tangy fragrance.
- Granulated sugar: This sweetener balances out the lemon’s tartness while providing structure to the curd.
- Large eggs: Eggs thicken the curd, creating body and a creamy, custard-like consistency.
- Unsalted butter, cut into cubes: Butter smooths out the texture and imparts a rich, velvety finish.
- Pinch of salt: Just a touch heightens all the flavors and keeps the sweetness from overwhelming the citrusy notes.
How to Make Homemade Lemon Curd
Step 1: Whisk Everything Together
In a medium saucepan, combine your freshly squeezed lemon juice, vibrant lemon zest, granulated sugar, eggs, and the tiniest pinch of salt. Use a whisk to blend everything until smooth and fully combined. This careful first mix prevents streaks of egg and ensures a uniform lemony base for your Homemade Lemon Curd.
Step 2: Gently Cook the Mixture
Set the saucepan over medium heat and keep that whisk moving—constant stirring is key! Gradually, the mixture will begin to thicken, taking on a glossy sheen. Resist the urge to turn up the heat; slow and steady wins the race here and protects your curd from curdling. In about 8 to 10 minutes, it should coat the back of your spoon beautifully, signaling it’s reached the perfect consistency.
Step 3: Stir in the Butter
Remove the pan from heat, then whisk in the cold, cubed butter, a little bit at a time. Let each piece melt completely before adding the next. This step transforms your Homemade Lemon Curd from simply tangy to deeply luxurious, lending creaminess and that delightful shine.
Step 4: Strain and Cool
Pour the warm curd through a fine mesh sieve into a clean bowl. This quick step catches any tiny bits of cooked egg or rogue zest, ensuring your curd is as silky as can be. Allow it to cool slightly before transferring to a jar or airtight container. Give your Homemade Lemon Curd a little chill time in the fridge—about an hour—so it can set and develop its dreamy texture.
How to Serve Homemade Lemon Curd

Garnishes
For a finishing touch, a sprinkle of fresh lemon zest or a few curls of candied citrus adds color and another pop of fragrant lemon. If you’re feeling fancy, a dollop of softly whipped cream or a dusting of powdered sugar can turn a simple presentation into a true treat.
Side Dishes
Homemade Lemon Curd shines as a topping for warm, toasted bread, fresh scones, pancakes, or waffles. It’s also heavenly dolloped over a bowl of Greek yogurt, paired with fresh berries, or layered between cake rounds for a deliciously tart surprise.
Creative Ways to Present
Don’t stop at spreading! Use it as a tart or cupcake filling, swirl it into cheesecakes or thumbprint cookies, or swirl a spoonful into your next parfait. For gifting, ladle Homemade Lemon Curd into pretty mason jars and tie them with a ribbon—a little jar of sunshine that’s sure to brighten anyone’s day.
Make Ahead and Storage
Storing Leftovers
After making your batch, transfer the Homemade Lemon Curd into a clean jar or airtight container and stash it in the fridge. It’ll keep well for up to a week, so you can slather it on something delicious every morning or save it for a fancy weekend brunch.
Freezing
If you want to save some for later or make a double batch now, Homemade Lemon Curd freezes beautifully! Pour cooled curd into freezer-safe containers, leaving a little space at the top, and freeze for up to two months. Thaw overnight in the refrigerator before using for best results.
Reheating
Homemade Lemon Curd is lovely straight from the fridge, but if you prefer it warm or want to loosen it slightly, gently heat it in a double boiler or microwave in 10-second bursts, stirring each time. Be cautious—overheating can cause the texture to become grainy, so warm just until it’s spreadable.
FAQs
Can I use bottled lemon juice instead of fresh?
While it’s possible, the fresh, lively flavor of real lemons makes all the difference in Homemade Lemon Curd. Bottled juice can sometimes taste dull or too acidic, so for best results, squeeze your own!
Why did my curd turn out lumpy?
If your lemon curd lumps up, it’s likely that the eggs cooked too quickly or unevenly. Whisk continuously and avoid high heat; straining at the end will also give you that coveted silky-smooth finish.
Is this recipe gluten-free and safe for vegetarians?
Absolutely! This Homemade Lemon Curd contains no gluten and relies on eggs and dairy, without any animal gelatin or meat products, making it both gluten-free and vegetarian-friendly.
How do I fix runny lemon curd?
If your curd didn’t thicken enough, you can return it to the saucepan and gently cook it for a few more minutes, whisking constantly. Remember, it does thicken more as it cools, so patience pays off!
What else can I use lemon curd for besides toast or scones?
Endless possibilities! Spoon Homemade Lemon Curd into mini tart shells, swirl into ice cream or yogurt, use as the base for a lemon mousse, or layer it in trifles for a burst of lemony lightness.
Final Thoughts
Once you experience the bright, fresh taste and rich texture of Homemade Lemon Curd, it’s hard to return to store-bought. It’s a tiny bit of effort for a whole lot of joy! Grab a few lemons, give it a try, and get ready to fall in love with your new favorite citrus spread.
Print
Homemade Lemon Curd Recipe
- Total Time: 15 minutes (plus chilling time)
- Yield: 1½ cups 1x
- Diet: Vegetarian, Gluten-Free
Description
Learn how to make delicious homemade lemon curd with this easy recipe. Perfectly tangy and sweet, this lemon curd is versatile and can be used in various desserts or as a spread.
Ingredients
Lemon Curd Ingredients:
- ½ cup fresh lemon juice (about 2–3 lemons)
- 1 tablespoon lemon zest
- ½ cup granulated sugar
- 3 large eggs
- 6 tablespoons unsalted butter, cut into cubes
- pinch of salt
Instructions
- Prepare the Lemon Curd: In a medium saucepan, whisk together the lemon juice, lemon zest, sugar, eggs, and salt until smooth.
- Finish the Lemon Curd: Remove the pan from the heat and whisk in the butter, one cube at a time, until fully melted and the curd is smooth.
- Strain and Store: Pour the lemon curd through a fine mesh sieve into a clean bowl to remove any bits of cooked egg or zest. Let it cool slightly, then transfer to a jar or airtight container. Refrigerate for at least 1 hour before using.
Place the saucepan over medium heat and cook, whisking constantly, until the mixture thickens and coats the back of a spoon, about 8–10 minutes. Do not let it boil.
Notes
- Lemon curd will thicken further as it cools.
- Store in the refrigerator for up to 1 week, or freeze for up to 2 months.
- Delicious on toast, scones, pancakes, or as a filling for cakes and tarts.
- Prep Time: 5 minutes
- Cook Time: 10 minutes
- Category: Condiment, Dessert
- Method: Stovetop
- Cuisine: British
Nutrition
- Serving Size: 2 tablespoons
- Calories: 110
- Sugar: 10g
- Sodium: 20mg
- Fat: 7g
- Saturated Fat: 4g
- Unsaturated Fat: 3g
- Trans Fat: 0g
- Carbohydrates: 11g
- Fiber: 0g
- Protein: 1g
- Cholesterol: 55mg


