
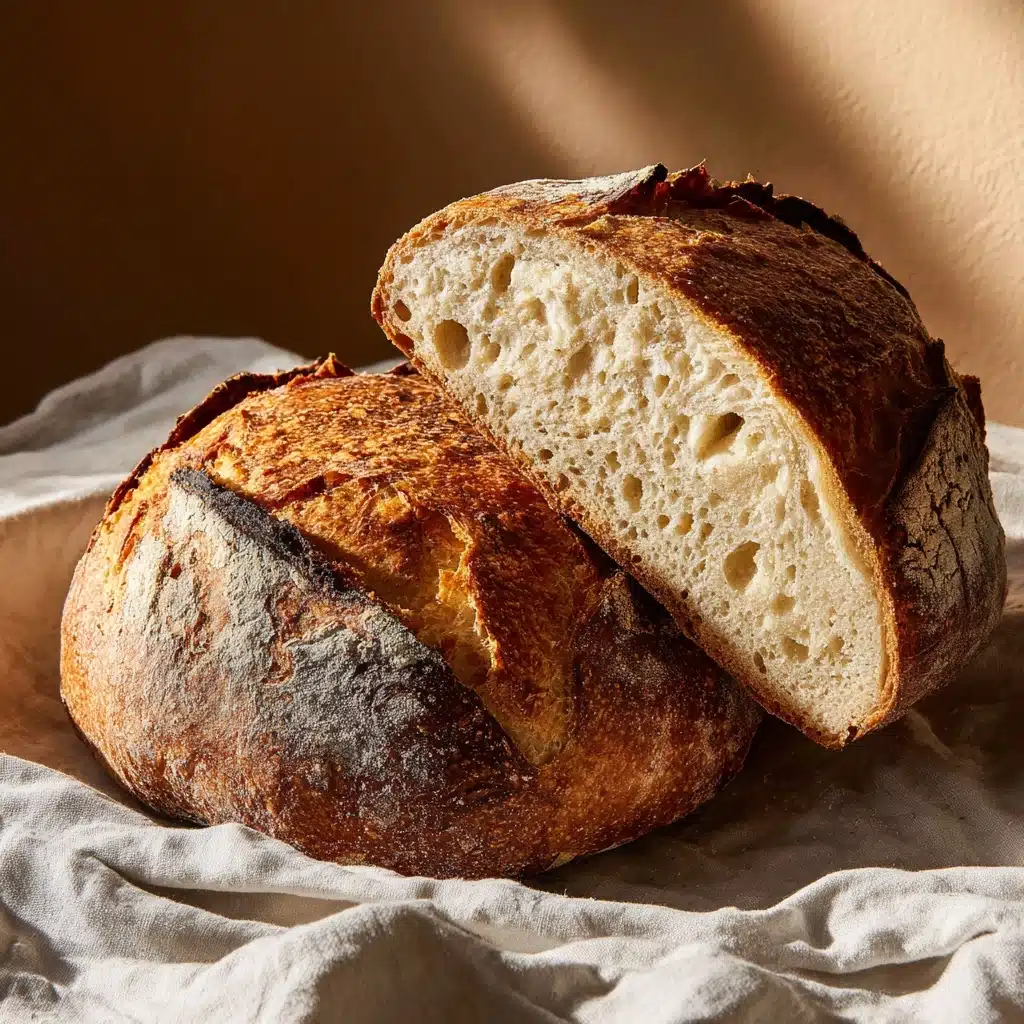
There’s honestly nothing more delightful than pulling a gorgeous loaf of Dutch Oven Bread from your oven—crisp, crackly crust on the outside, and a pillowy, steamy center within. This loaf feels like magic for such a simple recipe: you just stir, wait, and bake! Perfect for beginners or seasoned bakers, Dutch Oven Bread is my go-to for comforting, bakery-worthy bread at home—no kneading, no fuss, just impressive results every time.
Ingredients You’ll Need
The ingredient list for Dutch Oven Bread is gloriously short—each one is vital, playing a key role in the loaf’s flavor, structure, and irresistible texture. Great bread needs little more than the basics, so every element here shines.
- All-purpose flour: This everyday staple forms the backbone of your bread, yielding a tender crumb and golden exterior.
- Salt: Just a bit adds depth, enhances flavor, and helps create that perfect crust.
- Instant yeast: This tiny powerhouse lifts the dough, giving you a beautiful loaf filled with airy pockets.
- Warm water: The right temperature kickstarts fermentation, helping everything blend and rise into bakery perfection.
How to Make Dutch Oven Bread
Step 1: Mix Up the Dough
In the magic of bread baking, less truly is more. Start by whisking together the flour, salt, and instant yeast in a large mixing bowl. This helps distribute all those essential flavors evenly. Next, pour in the warm water—aim for 110°F for that perfect cozy boost. Stir everything with a sturdy spoon or spatula until a shaggy, slightly sticky dough forms. No kneading required! You’re looking for rough, lumpy, and well combined.
Step 2: The Overnight Rise
Cover your bowl tightly with plastic wrap or a clean kitchen towel and let the dough rise at room temperature for 12 to 18 hours. Patience pays off here—the dough will bubble up, double in size, and develop irresistible flavor and structure. Peek in occasionally and watch the transformation! It’s simple, hands-free bakery science at work.
Step 3: Preheat the Dutch Oven
About 30 minutes before you’re ready to bake, crank your oven to 450°F (230°C) with your Dutch oven and lid inside. This gets that heavy pot searing hot, setting the stage for a bakery-style crust. A properly preheated Dutch oven is key for dramatic oven spring and that distinctive crispy shell.
Step 4: Shape the Dough
Dust your counter well with flour, then gently tumble the dough out—it will be sticky and airy, so use a spatula if needed. With floured hands, coax it into a loose ball, tucking the edges underneath. Don’t fuss too much; part of the allure of Dutch Oven Bread is its rustic beauty!
Step 5: Bake and Unveil
Now for the showstopper moment: carefully take your hot Dutch oven out of the oven (oven mitts are a must!). Gently plop the dough in, seam side down. Quickly cover with the lid and bake for 30 minutes—this traps steam, yielding that coveted crisp crust. Then, remove the lid and bake another 10 to 15 minutes for a deep, golden finish. Let your loaf cool on a rack before slicing to seal in all the texture and flavor.
How to Serve Dutch Oven Bread

Garnishes
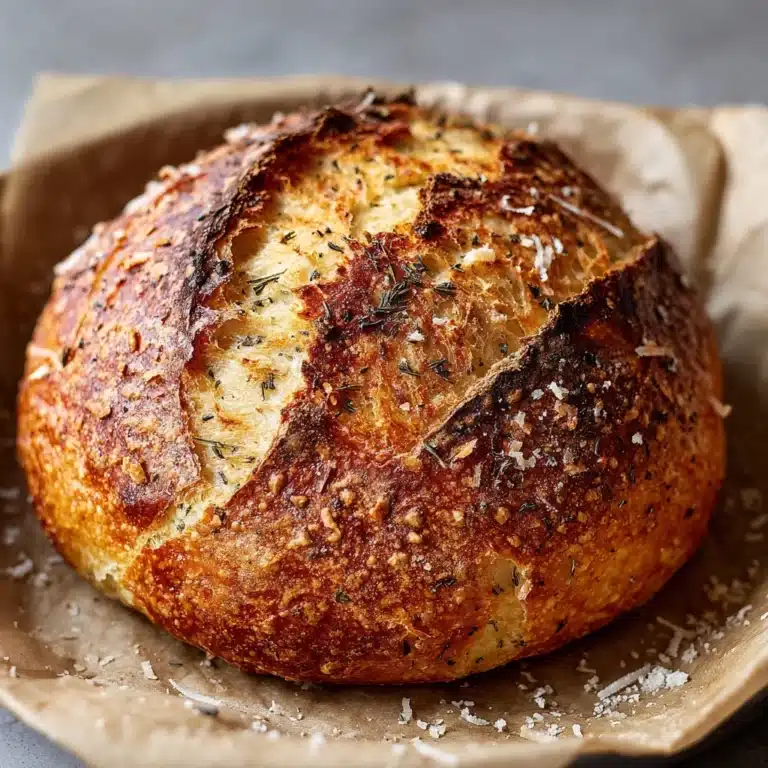
A finishing touch can turn your Dutch Oven Bread from rustic to restaurant-worthy. Brushed with melted butter and a sprinkle of flaky salt, or dusted with fresh chopped herbs (like rosemary or thyme), each bite becomes a little celebration. Even a drizzle of good olive oil right after baking lets the crust soak up aromatic richness.
Side Dishes
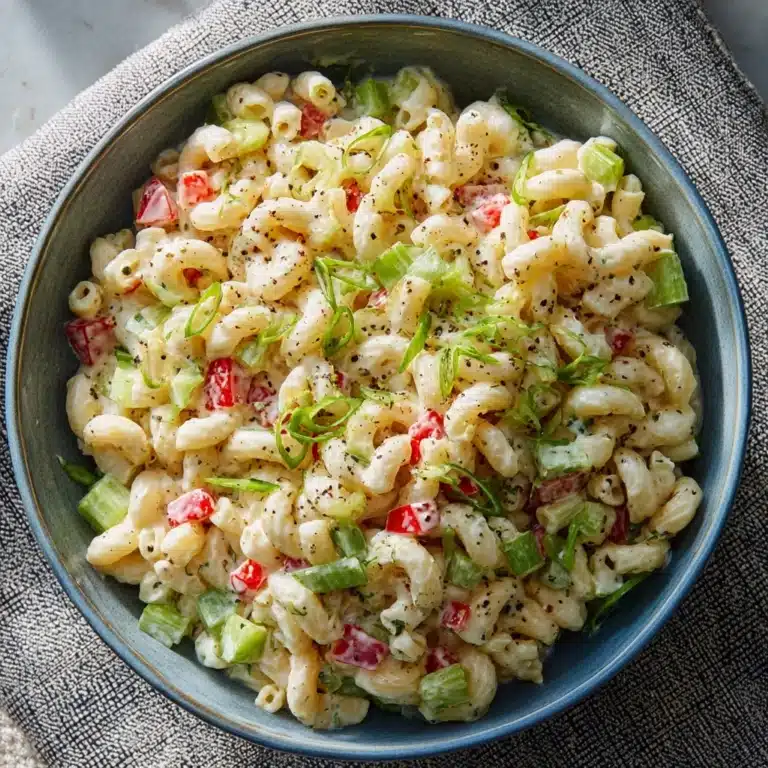
This bread is a near-blank canvas for creative pairing. Enjoy thick slices alongside soups and stews, use it for epic grilled cheese sandwiches, or simply serve warm with a pat of salted butter and jam. Dutch Oven Bread turns simple sides—think salads, dips, or charcuterie boards—into something truly special.
Creative Ways to Present
For a wow-worthy centerpiece, slice your loaf into chunky wedges and arrange them in a basket lined with a colorful napkin. Or, hollow out a small round for a soup bread bowl! For gatherings, consider tearing the bread into rustic pieces so everyone can dig in and share.
Make Ahead and Storage
Storing Leftovers
If you find yourself (miraculously) with leftover Dutch Oven Bread, store it cut-side down on a cutting board, loosely covered with a clean towel. This keeps the crust crisp while preventing it from drying out too quickly. For longer freshness, wrap the cooled loaf in plastic wrap or beeswax wrap and tuck it away at room temperature for up to 2 days.
Freezing
Dutch Oven Bread freezes beautifully! Slice the loaf and wrap individual pieces in plastic wrap or freezer bags—they’ll keep for up to 2 months. To serve, just pull out as many slices as you need, letting the rest stay fresh for next time.
Reheating
Want that just-baked warmth? Reheat whole loaves in a 350°F (175°C) oven for 10-15 minutes, or pop slices in the toaster. The crust will crisp right back up, and the inside will be wonderfully soft again. It’s almost like pulling it fresh from the oven all over again.
FAQs
Can I use bread flour instead of all-purpose flour?
Absolutely! Bread flour has more protein, which can make your Dutch Oven Bread a touch chewier and give it an even taller rise. Either flour works great—choose based on what you have or the texture you love.
Why does the bread need to rise for so long?
That long, slow rise is where the magic happens! It lets the yeast work extra slowly, developing more complex flavors and creating those glorious air pockets that make each bite so light and delicious.
How do I know when my bread is fully baked?
A perfectly baked loaf will have a deep golden crust that feels crisp, and it will sound hollow when tapped on the bottom. If you want to be precise, the internal temperature should read about 200°F (93°C).
Can I add mix-ins like seeds, cheese, or herbs?
Definitely! Add seeds, chopped herbs, garlic powder, or shredded cheese right along with the flour in Step 1. It’s an easy way to customize your Dutch Oven Bread and make it absolutely your own.
Do I need a special kind of Dutch oven?
Most heavy, oven-safe Dutch ovens with a tight-fitting lid will do the trick. Aim for one that holds between 4 and 6 quarts—it should be able to withstand high oven temperatures and seal in steam for that signature crust.
Final Thoughts
If you’ve never baked bread before (or even if you’re a seasoned pro), give Dutch Oven Bread a try—it’s impossible not to fall in love with the process and results. Every bite feels homey and impressive, and once you taste that warm, crackly crust, you’ll see why it has a permanent spot in my kitchen. Happy bread baking!
Print
Dutch Oven Bread Recipe
- Total Time: 13–19 hours
- Yield: 1 loaf (about 12 slices) 1x
- Diet: Vegan
Description
Learn how to bake a delicious Dutch Oven Bread at home with this easy no-knead recipe. This artisanal bread has a crusty exterior and a soft, chewy interior, making it the perfect addition to any meal or snack.
Ingredients
Dutch Oven Bread:
- 3 cups all-purpose flour
- 1 1/2 teaspoons salt
- 1/2 teaspoon instant yeast
- 1 1/2 cups warm water (110°F / 43°C)
Instructions
- Prepare the Dough: In a large bowl, whisk together flour, salt, and yeast. Pour in warm water and stir until a shaggy dough forms.
- Rise the Dough: Cover the bowl and let it rise at room temperature for 12–18 hours until doubled in size.
- Preheat and Shape: Preheat oven to 450°F (230°C) with a Dutch oven inside. Shape the dough into a ball on a floured surface.
- Bake: Carefully place the dough in the hot Dutch oven, cover, and bake. Uncover and bake until golden brown.
- Cool and Enjoy: Transfer bread to a rack to cool before slicing.
Notes
- Enhance flavor with herbs, garlic powder, or cheese.
- For a chewier crust, let the bread cool fully before slicing.
- Prep Time: 10 minutes (plus 12–18 hours rising time)
- Cook Time: 45 minutes
- Category: Bread
- Method: Baking
- Cuisine: American, Artisan
Nutrition
- Serving Size: 1 slice
- Calories: 140
- Sugar: 0 g
- Sodium: 290 mg
- Fat: 0.5 g
- Saturated Fat: 0 g
- Unsaturated Fat: 0.5 g
- Trans Fat: 0 g
- Carbohydrates: 29 g
- Fiber: 1 g
- Protein: 4 g
- Cholesterol: 0 mg


