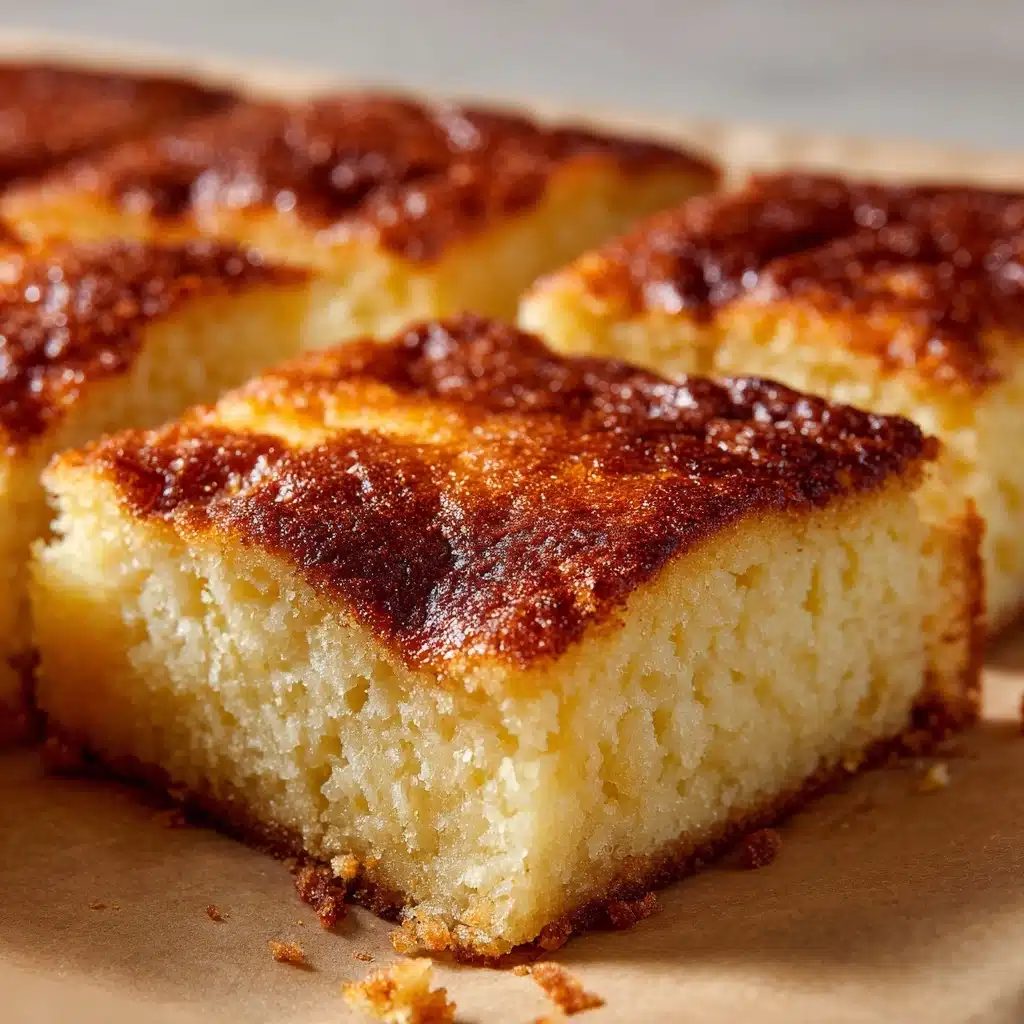
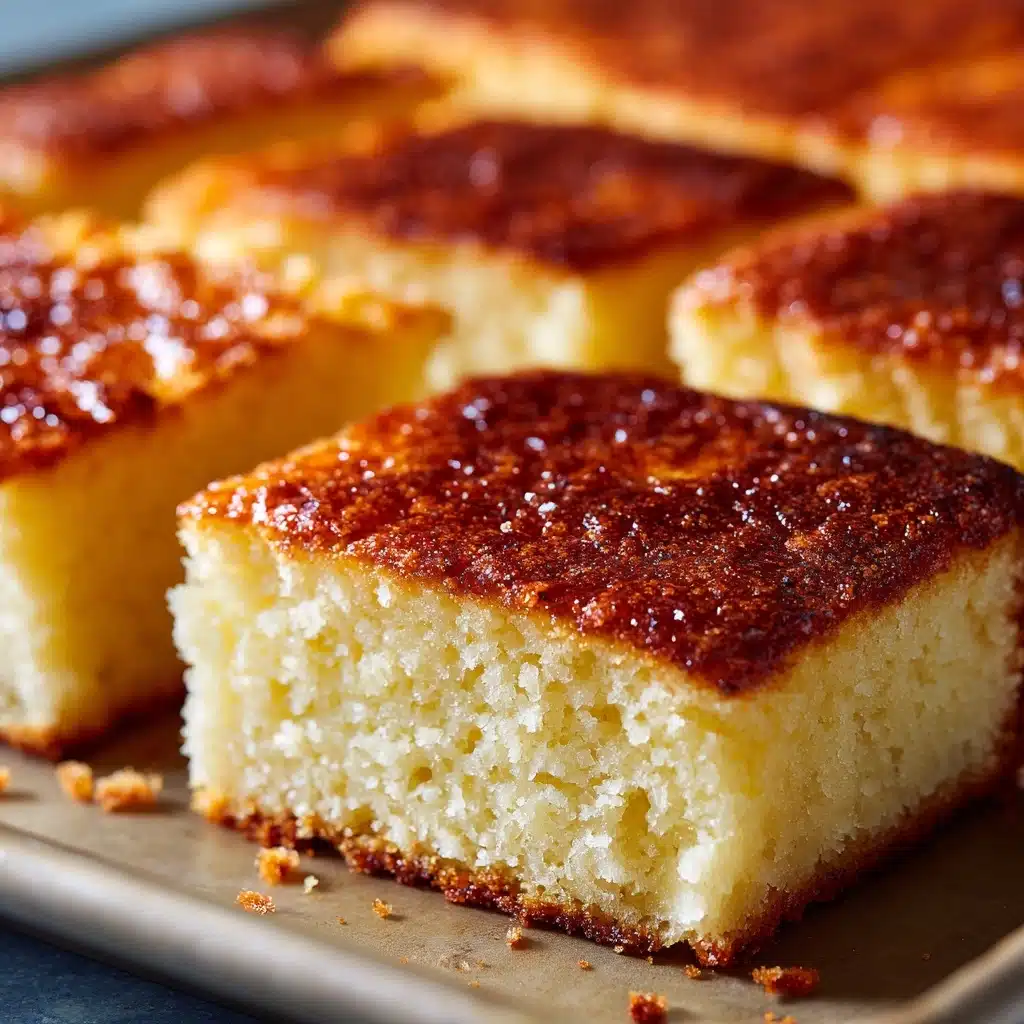
Coconut Mochi Cake is the kind of treat you whip up once and instantly wonder how you ever lived without it. Pillowy soft, chewy, and delightfully rich with coconut flavor, this recipe bridges the best of Asian-inspired and Hawaiian dessert traditions. It’s naturally gluten-free, comes together with everyday pantry items, and rewards you with golden, snackable squares that are as perfect for potlucks as they are for cozy nights at home. The crackly, toasted coconut topping (if you wish!) adds just the right pop of sweetness and texture. Whether you’re a long-time mochi fan or new to this charming dessert, Coconut Mochi Cake will earn a spot in your favorites folder.
Ingredients You’ll Need
Gathering your lineup for Coconut Mochi Cake couldn’t be easier—the ingredient list is straightforward, with each element playing a crucial role in the cake’s signature chew and flavor. Let’s take a closer look at why these pantry standards add up to absolute magic.
- Glutinous rice flour (mochiko): The heart and soul of mochi texture, this flour transforms the cake into the perfect tender, chewy delight.
- Granulated sugar: Not only sweetens, but provides that essential glossy finish for your cake’s surface.
- Baking powder: Just a bit gives the cake some lift while maintaining that mochi-y density we all crave.
- Salt: Balances the sweetness and highlights the coconut notes in every bite.
- Eggs: The eggs bind everything together while keeping the crumb rich and moist.
- Coconut milk: Delivers signature flavor and creaminess—skip it at your own risk!
- Evaporated milk: Adds depth, a touch of old-school bakery charm, and extra milky richness.
- Unsalted butter, melted: Infuses richness and helps that irresistible golden brown crust develop.
- Vanilla extract: An aromatic lift that ties together all the tropical and toasty notes.
- Shredded sweetened coconut (optional, for topping): Toast for even bigger flavor, or sprinkle as-is for pretty, snowy texture up top.
How to Make Coconut Mochi Cake
Step 1: Prep Your Pan and Oven
Start by preheating your oven to 350°F (175°C)—an essential temp for getting that classic mochi texture with a golden exterior. Grease a 9×13-inch baking pan thoroughly (a little extra love in the corners means no sticky mishaps when it’s time to serve!). Lining with parchment is optional but great if you want super neat slices.
Step 2: Mix Dry Ingredients
In a big mixing bowl, whisk together the glutinous rice flour, granulated sugar, baking powder, and salt. This simple step makes sure your rising agent and seasoning are evenly distributed, setting the stage for a cake that bakes up light but chewy.
Step 3: Combine Wet Ingredients
In a separate bowl, beat the eggs until blended, then stir in the coconut milk, evaporated milk, melted butter, and vanilla extract. This mixture should be nice and smooth—any little bits of unmixed yolk can create streaks in your finished cake.
Step 4: Make the Batter
Gradually add the wet ingredients to your dry mixture, whisking as you go. Aim for a batter that’s lump-free with a silky sheen. It will be a bit more liquid than typical cake batters—just what you want for that classic Coconut Mochi Cake feel.
Step 5: Add Toppings
Pour the batter into your prepared pan. If you’re adding the shredded coconut topping, sprinkle it generously over the surface. For an extra boost of nutty flavor, consider toasting the coconut first—it’s a tiny step with big payoff.
Step 6: Bake to Perfection
Slide the pan into your preheated oven and bake for 50–60 minutes. You’ll know it’s ready when the edges turn golden and the center is set (a gentle poke should spring back slightly). Let it cool completely in the pan before slicing—this patience is rewarded with perfectly neat squares.
How to Serve Coconut Mochi Cake
Garnishes
Coconut Mochi Cake is delicious right out of the pan, but a few special touches make it extra memorable. Try a light dusting of powdered sugar, a sprinkle of toasted sesame seeds, or a handful of fresh berries for color and freshness. If you’re feeling fancy, a drizzle of caramel or chocolate sauce is never out of place!
Side Dishes
Keep things light and breezy with tropical fruits like fresh mango slices, pineapple chunks, or a tart passionfruit compote. For a true island vibe, serve alongside a cup of strong Hawaiian coffee or a creamy Thai iced tea—each sip balances the cake’s chewy richness.
Creative Ways to Present
While squares and rectangles are classic, don’t be afraid to play. Use a small round cutter for adorable mini “mochi coins”, or layer cubes with whipped cream and berries in parfait glasses for a show-stopping dessert. For parties, skewer cubes and dip halfway in melted chocolate for bite-sized Coconut Mochi Cake pops everyone will rave about!
Make Ahead and Storage
Storing Leftovers
Coconut Mochi Cake stays magically chewy for several days if stored properly. Place the cooled, cut pieces in an airtight container and keep at room temperature for up to three days—no need for refrigeration unless your kitchen is extra warm or humid.
Freezing
Yes, you can freeze Coconut Mochi Cake! Wrap individual slices tightly in plastic wrap and foil, then stash in a freezer-safe bag. They’ll keep their best texture for up to one month. Thaw at room temperature (no microwave needed) for the most authentic bite.
Reheating
If you like your mochi cake warm, just pop a slice in the microwave for 10–15 seconds. This revives the soft, chewy texture without drying it out. Avoid reheating in the oven, which can make the cake too firm and toasty.
FAQs
Can I make Coconut Mochi Cake dairy-free?
Absolutely! Swap the evaporated milk with full-fat coconut milk or your favorite dairy-free alternative. Use plant-based butter to keep things just as rich—your cake will still turn out delightfully chewy and moist.
Is glutinous rice flour the same as regular rice flour?
Nope—these two aren’t interchangeable! Glutinous rice flour (mochiko) gives Coconut Mochi Cake its iconic chewy texture, while regular rice flour would make it dry and crumbly. Always double-check your flour label before baking.
How do I know when the cake is done?
You’re looking for golden, slightly crisp edges and a center that feels set when pressed gently—almost like a soft brownie. A toothpick might not come out totally clean (it’s a sticky cake), but the center shouldn’t jiggle.
What’s the best way to cut Coconut Mochi Cake cleanly?
Let the cake cool completely, then use a sharp knife lightly greased with oil or water. This prevents sticking and ensures you get those satisfyingly straight edges. Wipe the blade clean between cuts for professional-looking squares!
Can I add mix-ins to the batter?
Definitely! A handful of mini chocolate chips, chopped nuts, or even a swirl of matcha powder will all play beautifully with the coconut flavor. Just avoid fresh fruit inside the batter, as it can make the cake soggy.
Final Thoughts
There’s something utterly joyful about sharing a pan of Coconut Mochi Cake—it’s comforting, a little unusual, and simply delicious every single time. I hope you’ll bake a batch soon and discover for yourself why this chewy, coconutty cake wins hearts (and cravings) wherever it goes!
Print
Coconut Mochi Cake Recipe
- Total Time: 1 hour 10 minutes
- Yield: 16 pieces 1x
- Diet: Vegetarian, Gluten-Free
Description
Indulge in the delightful and chewy Coconut Mochi Cake, a fusion of Hawaiian and Asian flavors. This gluten-free dessert is a perfect balance of sweetness and coconut essence, making it a crowd-pleaser for any occasion.
Ingredients
Dry Ingredients:
- 1 box (16 ounces) glutinous rice flour (mochiko)
- 2 cups granulated sugar
- 2 teaspoons baking powder
- 1/2 teaspoon salt
Wet Ingredients:
- 4 large eggs
- 1 can (13.5 ounces) coconut milk
- 1 can (12 ounces) evaporated milk
- 1/4 cup unsalted butter, melted
- 1 teaspoon vanilla extract
Optional Topping:
- 1 cup shredded sweetened coconut
Instructions
- Preheat Oven: Preheat the oven to 350°F (175°C) and grease a 9×13-inch baking pan.
- Mix Dry Ingredients: In a large bowl, whisk together glutinous rice flour, sugar, baking powder, and salt.
- Prepare Wet Ingredients: In a separate bowl, beat eggs, then mix in coconut milk, evaporated milk, melted butter, and vanilla extract until smooth.
- Combine Ingredients: Gradually add the wet ingredients to the dry ingredients, whisking until a lump-free batter forms.
- Bake: Pour the batter into the prepared pan and sprinkle shredded coconut on top if desired. Bake for 50–60 minutes until the edges are golden and the center is set.
- Cool and Serve: Allow the cake to cool completely before slicing into squares or rectangles.
Notes
- For extra coconut flavor, toast the shredded coconut before sprinkling on top.
- This cake has a chewy texture and is best stored at room temperature in an airtight container for up to 3 days.
- Prep Time: 15 minutes
- Cook Time: 55 minutes
- Category: Dessert
- Method: Baking
- Cuisine: Hawaiian, Asian Fusion
Nutrition
- Serving Size: 1 piece
- Calories: 220
- Sugar: 20 g
- Sodium: 150 mg
- Fat: 7 g
- Saturated Fat: 5 g
- Unsaturated Fat: 1 g
- Trans Fat: 0 g
- Carbohydrates: 37 g
- Fiber: 1 g
- Protein: 4 g
- Cholesterol: 35 mg