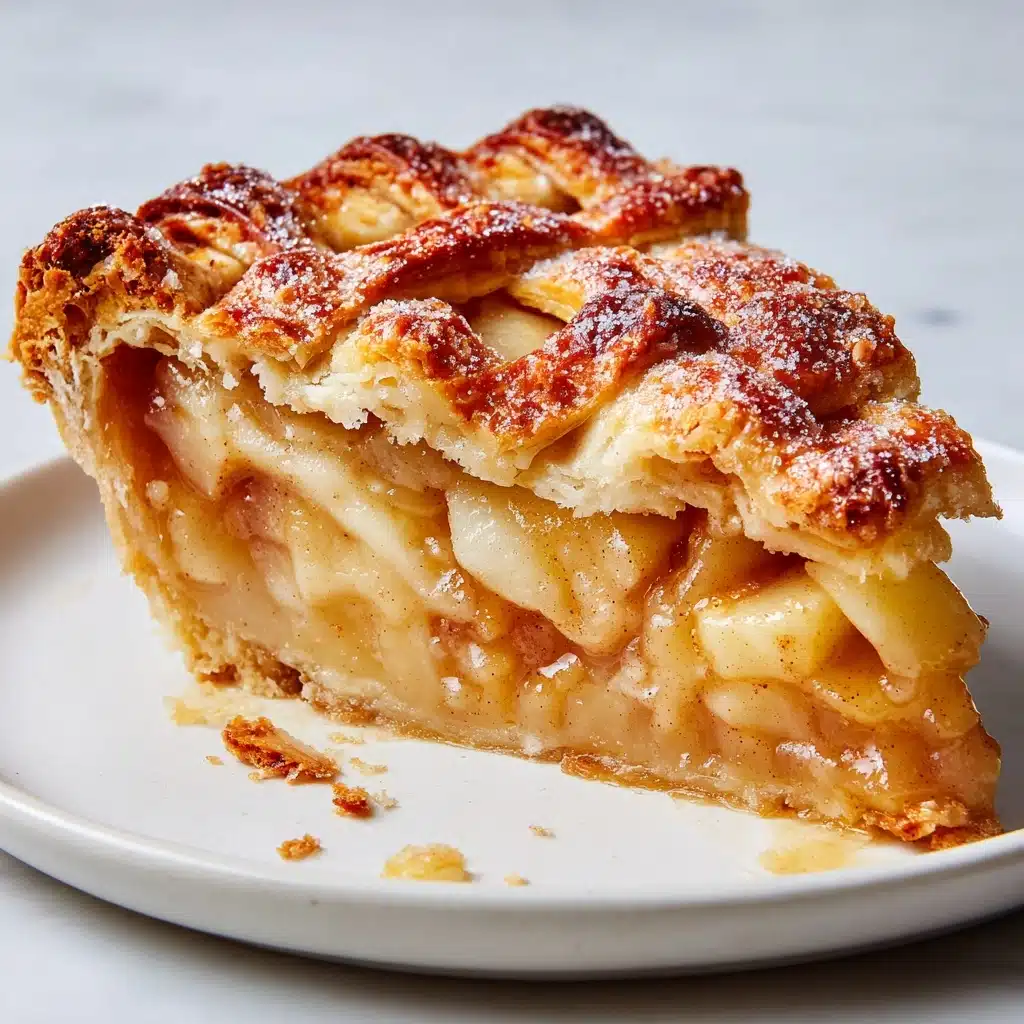
If you’ve ever dreamed of a beautifully golden, buttery base for your favorite pies, this Flaky Pie Crust recipe is about to become your go-to. With just a handful of pantry staples and a few key techniques, you can create a pastry crust so tender and crisp it practically shatters with each bite. Whether you’re baking a classic apple pie, a summery quiche, or a rich chocolate tart, this Flaky Pie Crust will elevate your baking game from simple to spectacular—no advanced pastry skills required!

Ingredients You’ll Need
Four basic ingredients build the foundation of an unforgettable Flaky Pie Crust. Each element brings its own magic to the table, so don’t be tempted to skip or substitute unnecessarily. Think of these as the essential cast for a truly show-stopping pastry.
- All-purpose flour: The backbone of the crust, this gives your dough structure while keeping things tender instead of tough.
- Salt: Just a teaspoon makes all the flavors pop, ensuring your Flaky Pie Crust is never bland.
- Unsalted butter (very cold): Cold butter creates those dreamy, melt-in-your-mouth layers and a rich flavor.
- Ice water: The secret to binding your dough gently, so it’s easy to handle but never sticky or tough.
How to Make Flaky Pie Crust
Step 1: Whisk Flour and Salt
Start by grabbing a large mixing bowl, then whisk together the all-purpose flour and salt. This not only distributes the salt for flavor, it also aerates the flour so your Flaky Pie Crust develops even texture from the very first step.
Step 2: Cut in the Cold Butter
Add those chilly cubes of unsalted butter right into the flour mixture. Use a pastry cutter, two forks, or your fingertips to gently work the butter until the mixture resembles coarse crumbs, with plenty of pea-sized bits sprinkled throughout. This is where the magic happens—those pockets of butter will create gorgeous flakes as they melt in the oven!
Step 3: Add Ice Water Gradually
Drizzle in ice water, just one tablespoon at a time, tossing the mixture gently with a fork after each addition. Stop as soon as the dough starts to clump together, which usually happens with six to eight tablespoons. It’s crucial to avoid overmixing so that your Flaky Pie Crust stays impossibly light and layered.
Step 4: Shape and Chill the Dough
Divide the dough in half and form each section into a smooth disk, about an inch thick. Tightly wrap each disk in plastic wrap and refrigerate them for at least an hour. This rest gives the gluten a chance to relax and lets the butter chill, ensuring maximum flakiness when you roll it out later!
Step 5: Roll Out the Dough
Flour your work surface lightly, then roll out your chilled dough to fit your pie dish, working from the center outward and rotating as you go. If the dough is too stiff, let it sit for a few minutes on the counter—patience pays off with a perfect Flaky Pie Crust ready for filling and baking.
How to Serve Flaky Pie Crust

Garnishes
The beauty of a golden Flaky Pie Crust deserves a little flourish. Brush the edge with a rich egg wash for extra shine before baking, or sprinkle with sparkling sugar for a sweet, bakery-style finish. If you’re feeling fancy, try braiding leftover strips of dough to decorate the rim.
Side Dishes
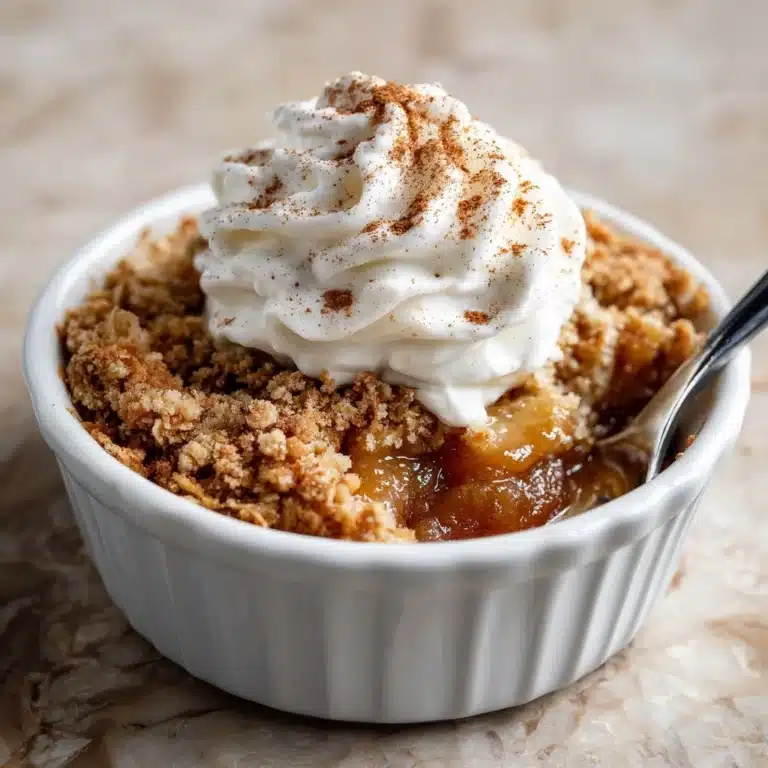
Pair your pie with light accompaniments to let the Flaky Pie Crust shine. Think freshly whipped cream, a scoop of vanilla ice cream, or even a tangy fruit coulis alongside a fruit or custard pie. For savory pies, a crisp salad or simple roasted veggies work beautifully.
Creative Ways to Present
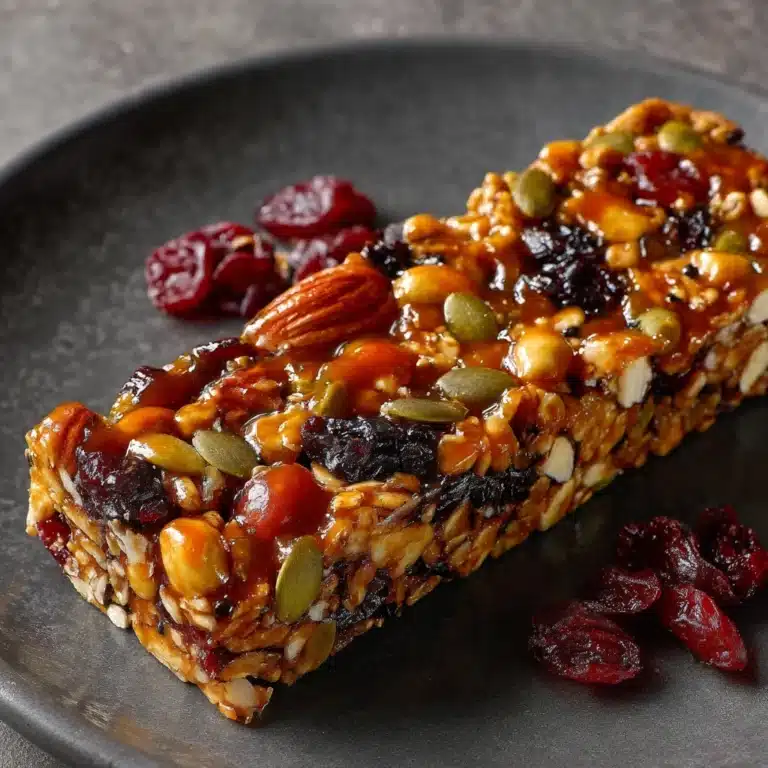
Don’t be afraid to think outside the pie plate! Use the Flaky Pie Crust for hand pies, mini tartlets, or as a topping for pot pies in individual ramekins. If you have extra scraps, sprinkle them with cinnamon sugar, bake until crisp, and serve as a crunchy snack or pie crust “crackers.”
Make Ahead and Storage
Storing Leftovers
If you didn’t use both disks of your Flaky Pie Crust, keep the spare wrapped tightly in plastic in the fridge for up to three days. Even a baked pie with this crust stays crisp the next day—just cover loosely to prevent sogginess.
Freezing
Flaky Pie Crust freezes beautifully! Wrap the dough disks in an extra layer of foil and pop them in the freezer for up to three months. For instant convenience, roll out the dough and line your pie dish, then freeze that (unbaked) so you’re always ready to bake at a moment’s notice.
Reheating
Baked pie crusts or filled pies made with Flaky Pie Crust are best reheated in a 350°F oven until warmed through and re-crisped (about 8-10 minutes). This little trick revives that gorgeous flake factor, even after a night in the fridge.
FAQs
Why does everything need to be so cold when making Flaky Pie Crust?
Cold ingredients keep the butter solid while you work, which is the secret behind those tender, distinct layers. As the butter melts during baking, it releases steam that “puffs up” the dough, creating a truly Flaky Pie Crust.
Can I use salted butter instead of unsalted?
Yes, but reduce the added salt in the recipe by half. Unsalted butter gives you total control over the flavor, but if salted is all you have, your Flaky Pie Crust will still turn out delicious.
What if I don’t have a pastry cutter?
No pastry cutter? No problem! Use two forks, a bench scraper, or even your (very cold) fingers to rub the butter and flour together. Just work quickly to keep the butter from melting for the best Flaky Pie Crust texture.
How thick should I roll out the dough?
A good rule of thumb is about 1/8 inch thick. Too thick, and your Flaky Pie Crust won’t bake through evenly; too thin, and it risks tearing or becoming tough when filled.
What’s the best way to prevent a soggy bottom when baking a wet filling?
For juicy fillings, try blind-baking the crust: line it with parchment and pie weights, bake for 15 minutes at 375°F, then remove weights and bake until lightly golden. This creates a barrier, keeping your Flaky Pie Crust crisp no matter the filling.
Final Thoughts
Baking a Flaky Pie Crust from scratch feels like a little bit of kitchen magic, and you don’t have to be a professional to master it! Don’t be intimidated—just follow these steps, keep everything cold, and watch those tender, golden layers come to life. I promise, you and your lucky tasters will taste the love in every bite.
Print
Flaky Pie Crust Recipe
- Total Time: 1 hour 15 minutes (including chilling)
- Yield: Enough for 2 9-inch pie crusts 1x
- Diet: Vegetarian
Description
Learn how to make a flaky and buttery pie crust from scratch with this easy recipe. Perfect for all your pie-baking needs!
Ingredients
Dry Ingredients:
- 2 1/2 cups all-purpose flour
- 1 teaspoon salt
Additional Ingredients:
- 1 cup (2 sticks) unsalted butter, very cold and cut into small cubes
- 6 to 8 tablespoons ice water
Instructions
- Prepare the Dough: In a large bowl, whisk together flour and salt. Add the cold butter cubes and cut into the flour until crumbs form. Gradually add ice water, mixing until dough forms.
- Chill the Dough: Divide the dough, shape into disks, and refrigerate for at least 1 hour.
- Roll Out the Dough: Roll out on a floured surface to fit your pie dish.
Notes
- Keep ingredients cold for a flaky crust.
- Consider using a mix of butter and shortening for extra tenderness.
- Avoid overworking the dough to maintain tenderness.
- Prep Time: 15 minutes
- Cook Time: Varies by recipe
- Category: Baking
- Method: No-Bake (preparation)
- Cuisine: American
Nutrition
- Serving Size: 1/8 of crust
- Calories: 180
- Sugar: 0g
- Sodium: 190mg
- Fat: 15g
- Saturated Fat: 9g
- Unsaturated Fat: 5g
- Trans Fat: 0g
- Carbohydrates: 10g
- Fiber: 0g
- Protein: 1g
- Cholesterol: 30mg


